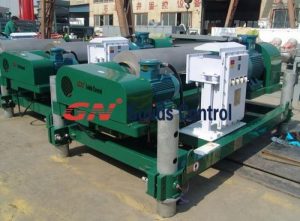
GN solids control Basic requirement of disassembly and assembly.
(1). Disassembly
A. Not allowed to hammer directly onto centrifuge parts, not allowed to separate the connecting surface between parts with tools like screw drivers.
B. Must use the dismounting holes or pulling tools on centrifuge parts when disassembly.
C. Not allowed to heat roller bearing with welding torch.
D. When dismount the parts with dismounting holes on flanges, use forcing screw with level 8.8 or above.
E. Mark the matching parts with compact points before disassembly.
(2). Assembly
A. Assembly work should be done in clean workshop with no metal particles or powers in air.
B. Carefully clean all parts and air flush off all iron scraps and dusts from lubricate holes, blind holes, counter bores.
C. Inspect fitting surface and joint surface of parts, and polish wounds and scratches on the parts with fine oil stones and smooth cut files.
A.Disassembly feed tube:
1)Disassembly feed tube
2)Disassembly Bolt & Nut On feed tube
3)Push out feed pipe
B. Disassembly narrow V belt
1)Disassembly motor cover
2)Loose nut for fixing motor
3)Rotating adjust screw , shorten distance
4)Pull out narrow V belt
C.Disassembly gear box
1)Lift gear box , disassemble back-drive motor, remove coupling between motor and gear box
2)Disassembly nuts between gear box and connection part
3)Remove gear box, pull out spline shaft
D.Remove centrifuge main body
1)Open top cover of collect box
2)Disassembly locating pins and nuts on bearing base both end
3)Lift centrifuge bowl assy and remove it 